EC2でRuby on Railsアプリケーションの環境を構築する
EC2にRuby on Railsのアプリケーションの環境を構築します。
WEBサーバはnginx、アプリケーションサーバはpumaを使います。
事前準備
Railsのアプリケーションのコードは事前に作成しておきました。
https://github.com/kanoemon/sandbox-rails
nginxとpumaの連携でconfigを変更していますが、それ以外はデフォルトの設定のままの状態です。
インフラ構築
事前にEC2(Amazon Linux 2)は作成済みです。
- デフォルトのVPC、サブネットを使用
- インスタンスにパブリックIPを割り当て済み
- セキュリティグループは独自のセキュリティグループを適用
- ポート80を許可済み
Rubyのインストール
Rubyのインストールにはrbenvを使います。
https://github.com/rbenv/rbenv
インストールのために必要なソフトウェアをEC2にインストールしておきます。
$ sudo yum install git gcc openssl openssl-develrbenvのインストールとセットアップは以下コマンドを順に実行します。
# rbenvをcloneする
$ git clone https://github.com/rbenv/rbenv.git ~/.rbenv

# 環境パスを通す
$ echo 'export PATH="$HOME/.rbenv/bin:$PATH"' >> ~/.bash_profile

# 初期化
$ ~/.rbenv/bin/rbenv init

# .bash_profileにeval "$(rbenv init - bash)"を追記する
$ vi ~/.bash_profile

# 変更した.bash_profileを読み込む
$ source ~/.bash_profile
次にruby-buildをインストールします。
ruby-buildとはRubyをコンパイルしてインストールするためのrbenvのプラグインです。
$ mkdir -p "$(rbenv root)"/plugins
$ git clone https://github.com/rbenv/ruby-build.git "$(rbenv root)"/plugins/ruby-build
rbenvとruby-buildのセットアップが終わったらrbenv-doctorでチェックをします。
全てOKと表示されたらセットアップは無事完了です。
$ curl -fsSL https://github.com/rbenv/rbenv-installer/raw/main/bin/rbenv-doctor | bash
Checking for `rbenv' in PATH: /home/ec2-user/.rbenv/bin/rbenv
Checking for rbenv shims in PATH: OK
Checking `rbenv install' support: /home/ec2-user/.rbenv/plugins/ruby-build/bin/rbenv-install (ruby-build 20210804-1-g57c397d)
Counting installed Ruby versions: none
  There aren't any Ruby versions installed under `/home/ec2-user/.rbenv/versions'.
  You can install Ruby versions like so: rbenv install 3.0.2
Checking RubyGems settings: OK
Auditing installed plugins: OK
ここまででRubyをインストールするための準備が完了しました。
あとはrbenvでRubyをインストールします。
# インストールできるRubyのバージョンを確認
# rbenv install --list-allだとインストールできる全てのバージョンが確認できます
$ rbenv install -l

# 指定したバージョンをインストール
$ rbenv install 2.7.1

# Rubyのバージョンの切り替え
$ rbenv global 2.7.1

# 確認
$ ruby --version
ruby 2.7.1p83 (2020-03-31 revision a0c7c23c9c) [x86_64-linux]
nginxのインストール
Amazon Linux2ではyumでnginxがインストールできないので、amazon-linux-extrasでインストールします。
sudo amazon-linux-extras install nginx1アプリケーションのセットアップ
今回はEC2でリポジトリを直接cloneしてアプリケーションを構築していきます。
まずRailsを動かすために必要なSQLite3とNode.jsをインストールします。
# SQLite3のインストール
$ sudo yum install sqlite-devel
# Node.jsのインストール
$ curl -o- https://raw.githubusercontent.com/nvm-sh/nvm/v0.34.0/install.sh | bash
$ . ~/.nvm/nvm.sh
$ nvm install node
$ node -e "console.log('Running Node.js ' + process.version)"
Running Node.js v16.8.0pumaとnginxの連携
pumaとnginxの連携はunixドメインソケットを使います。
まずアプリケーションコードのpumaの設定ファイルを変更します。
デフォルトだとポート番号でlistenする設定になっているので、その設定をコメントアウトしてpumaで作成されるソケットファイルのパスを設定します。
config/puma.rb
# port        ENV.fetch("PORT") { 3000 }
bind "unix://#{Rails.root}/tmp/sockets/puma.sock"
nginxのconfファイルを作成し、config/puma.rbで指定したソケットファイルのパスを指定します。
$ sudo vim /etc/nginx/conf.d/sandbox-rails.confsandbox-rails.conf
upstream sandbox-rails {
    # UNIXドメインソケットの設定
    # 今回は/var/www配下にアプリケーションコードを設置します
    server unix:///var/www/sandbox-rails/tmp/sockets/puma.sock fail_timeout=0;
}

server {
    listen 80;

    server_name localhost;

    root /var/www/sandbox-rails/public;

    location / {
      try_files $uri @sandbox-rails;
    }

    location @sandbox-rails {
        proxy_redirect off;

        proxy_set_header Host $http_host;
        proxy_set_header X-Forwarded-For $proxy_add_x_forwarded_for;
        proxy_set_header X-Real-IP $remote_addr;

        proxy_pass http://sandbox-rails;
    }
}
confファイルを作成し終わったら文法エラーがないかチェックします。
$ nginx -t問題なければnginxを起動します。
$ sudo service nginx startアプリケーションコードの設置
リポジトリをcloneしてアプリケーションコードを設置し、bundle installでライブラリをインストールします。
$ sudo mkdir -p /var/www
$ sudo chmod 777 /var/www
$ cd /var/www
$ git clone https://github.com/kanoemon/sandbox-rails.git
$ cd sandbox-rails
$ bundle install
起動
以下コマンドで起動。
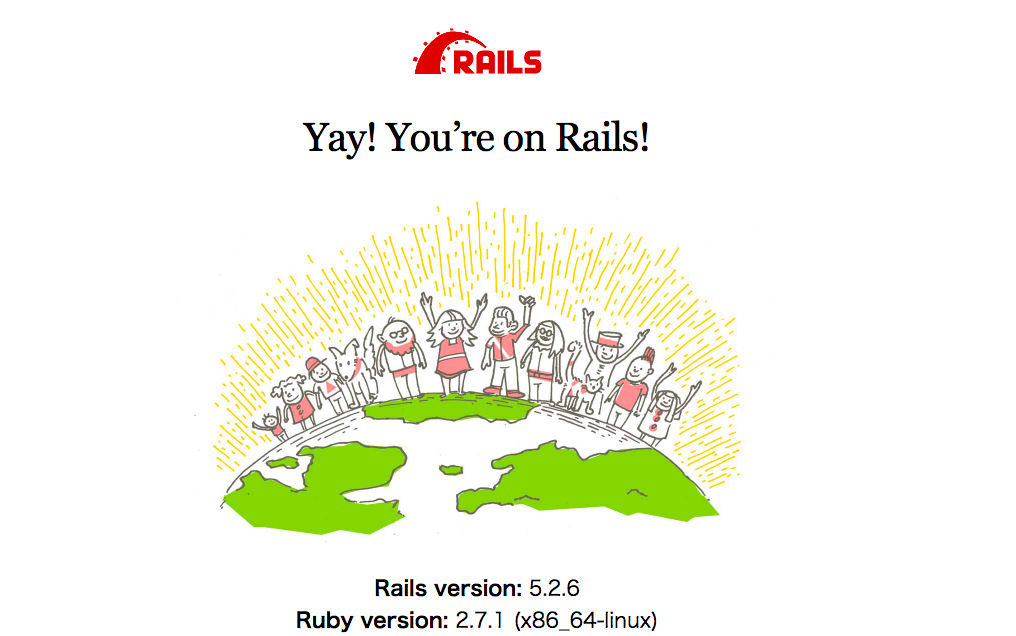
$ bin/rails sブラウザからアクセスし、以下画面が表示されれば無事起動完了です。
